How I wrote my own raytracer
I'm sure you've heard all about raytracing by now, but I'll do a little recap anyway. Then, we can get into the HLSL code and what I did.
What is raytracing?
In the real world, light "rays" are emitted from light sources, and bounce around all over the place until they run out of energy. Occasionally, they make their way into someone's eye, or perhaps a camera. There, the amount of light, the direction it came from, and what colours it consists of all help to determine what exists out in the big wide world. We call this: "seeing."
In a digital world, we do the reverse: for each pixel on the screen, we determine a direction and shoot out a ray, and let it bounce around until it runs out of "energy," at which point we note what colours and how much is left and so on. This can provide for the startlingly accurate imagery with a very simple set of alogrithms, although this is computationally expensive and hence why manufacturers like to advertise about it.
How did I do this?
As part of my university computer graphics course, we studied various techniques and concepts, one of which was raytracing. I already knew a lot of the overarching theory, and I wanted to learn the specific theory and the practical implementation. Hence, as I learnt the formulae and equations, I applied them to my own test raytracer. Following various tutorials online, I setup a project in the Unity3D game engine, and starting playing around with compute shaders, using the High Level Shader Language (HLSL). It was both fun and frustrating to learn, but on the whole a cool experience.
Where's the code?
It's available on my GitHub: https://github.com/theonlytechnohead/GPU-raytracing. I'll also be breaking down a few key sectiuons of it in this post, so read on!
How do you write code for a GPU?
It's actually surprisingly simple! First, we need to appropriately communicate from the CPU to the GPU, by sending the appropriate data to the GPU. I hooked into the OnRenderImage(RenderTexture source, RenderTexture destination) function of the Unity3D game engine:
ComputeShader raytracingShader;
if (renderTexture == null) {
	renderTexture = new RenderTexture(source.width, source.height, source.depth);
	renderTexture.enableRandomWrite = true;
	renderTexture.Create();
}
We setup our compute shader and the texture that we will use to render the final image. We're using a compute shader because we want to process our own entire pipeline, rather than using a fragment shader or suchlike to hook into the traditional render pipeline (which is not for raytracing). Next up, we need to send all the data to the GPU, and ask it to compute a frame for us:
raytracingShader.SetTexture(0, "Result", renderTexture);
Sphere[] s = GenerateRandomSpheres();
// send spheres to compute shader
ComputeBuffer buffer = new ComputeBuffer(s.Length, sizeof(float) * 8);
buffer.SetData(s);
raytracingShader.SetBuffer(0, "spheres", buffer);
// send camera data
raytracingShader.SetMatrix("_CameraToWorld", mainCamera.cameraToWorldMatrix);
raytracingShader.SetMatrix("_CameraInverseProjection", mainCamera.projectionMatrix.inverse);
// send lighting data
raytracingShader.SetFloat("kc", lighting.kc);
raytracingShader.SetFloat("kl", lighting.kl);
raytracingShader.SetFloat("kq", lighting.kq);
raytracingShader.SetBool("aces", ACES);
raytracingShader.Dispatch(0, renderTexture.width / 32, renderTexture.height / 32, 1);
buffer.Release();
Phew, there's a lot in there! Let's break it down in order:
- Generate the spheres for the scene, and put them in a buffer called "spheres" that can be sent to the GPU
- Fetch and set the matrices for the camera's current perspective and position, and the inverse of it - we need these to be able to position the scene properly relative to the camera, and to figure out which direction to raycast from
- There are three lighting constants that are used to calculate light falloff, which I need to send through for the calculations - I also have a Boolean value to toggle the ACES tonemapping on/off (more about that later)
- Signal the GPU that we've sent all the necessary data, and that it can schedule our frame (texture) to be computed
- Finally, the buffer we used to send the scene data across can be released from system memory, as we know the GPU has collected the data from it by now
The very last thing we need to do, is actually render the computed frame (texture) to the screen, which is simply:
Graphics.Blit(renderTexture, destination);High Level Shader Language (HLSL)
This is the fun stuff, where we write code that runs on our GPU! The first thing to do is define our data structures for the GPU, as it doesn't know anything about it from our C# code:
struct Sphere {
    float3 position;
    float radius;
    float3 colour;
    float emissive;
};

float kc;
float kl;
float kq;

bool aces;

RWStructuredBuffer<Sphere> spheres;
RWTexture2D<float4> Result;

float4x4 _CameraToWorld;
float4x4 _CameraInverseProjection;

static const float PI = 3.14159265f;
Now we get to the fun functions. HLSL doesn't really provide you with convenience functions that you would expect from a C# package or library or engine. All you get is the basic maths, and it's up to you what you want to do with it. Let's look at a basic example:
Ray CreateCameraRay(float2 uv)
{
    // Transform the camera origin to world space
    float3 origin = mul(_CameraToWorld, float4(0.0, 0.0, 0.0, 1.0f)).xyz;

    // Invert the perspective projection of the view-space position
    float3 direction = mul(_CameraInverseProjection, float4(uv, 0.0f, 1.0f)).xyz;
    // Transform the direction from camera to world space and normalize
    direction = mul(_CameraToWorld, float4(direction, 0.0f)).xyz;
    direction = normalize(direction);
    return CreateRay(origin, direction);
}
It's not super important to understand this code in-depth unless you're being assessed on this at university. The cool part of it is how simple it is to mix'n'match vectors of varying dimensions and matrices, all whilst doing maths. E.g. extracting a 3D vector by using the extension .xyz on a 4D vector.
You also need all your own code for things like IntersectGroundPlane(Ray ray, inout RayHit bestHit) and IntersectSphere(Ray ray, inout RayHit bestHit, uint i) for checking whether the ray your're casting has collided with an object in your scene. If you don't know how to write some maths to caculate it, it won't "just work" for you.
Now for the important bit: you've hit something, and now you need to know how much light exists at that point in space:
float3 light;
float3 position = hit.position + hit.normal * 0.001f;
uint count;
uint stride;
spheres.GetDimensions(count, stride);
for (uint i = 0; i < count; i++) {
	if (spheres[i].emissive > 0) {
		Sphere sphere;
		Ray sphereRay = CreateRay(position, normalize(spheres[i].position - position));
		RayHit emissiveHit = Trace(sphereRay);
		float3 sphereDistance = spheres[i].position - hit.position;
		if (distance(spheres[i].position, hit.position) < pow(abs(spheres[i].emissive * 2), 2)) {
			if (any(emissiveHit.emissive) && all(emissiveHit.colour == spheres[i].colour)) {
				float lightDistance = emissiveHit.distance;
				float3 diffuseAngle = dot(sphereRay.direction, hit.normal) / length(sphereRay.direction) * length(hit.normal);
				float3 inverseSquareLaw = kc + kl * lightDistance + kq * lightDistance * lightDistance;
				light += emissiveHit.emissive * hit.colour * diffuseAngle / inverseSquareLaw;
			}
		}
	}
}
return light;
This function uses fancy maths and emulates standard Phong shading, with a hint of raytracing to work out how much light is hitting a point. Let's dissect it...
- We initialise the amount oflight at the point, and the position of the 'hit' (offset a little bit to avoid shadows from the thing we hit)
- Next, we need a count and a 'stride' to
GetDimensions()of the spheres array, so that we can: - Iterate through all the spheres, and pick out the ones that shine light out
- Setup a raycast towards the sphere that emits light
- If the light is within rough range (of the inverse square law)...
- ...and it's not ourself (if we're emissive)
- Then we can calculate:
- the distance and angle to the light
- apply Phong shading with the accurate inverse square law
- determine how much and what colour light should exist in the direction of the camera
- add it to any existing light at that point
And we're almost done! The one last thing to do is ACES tonemapping...
One more thing...
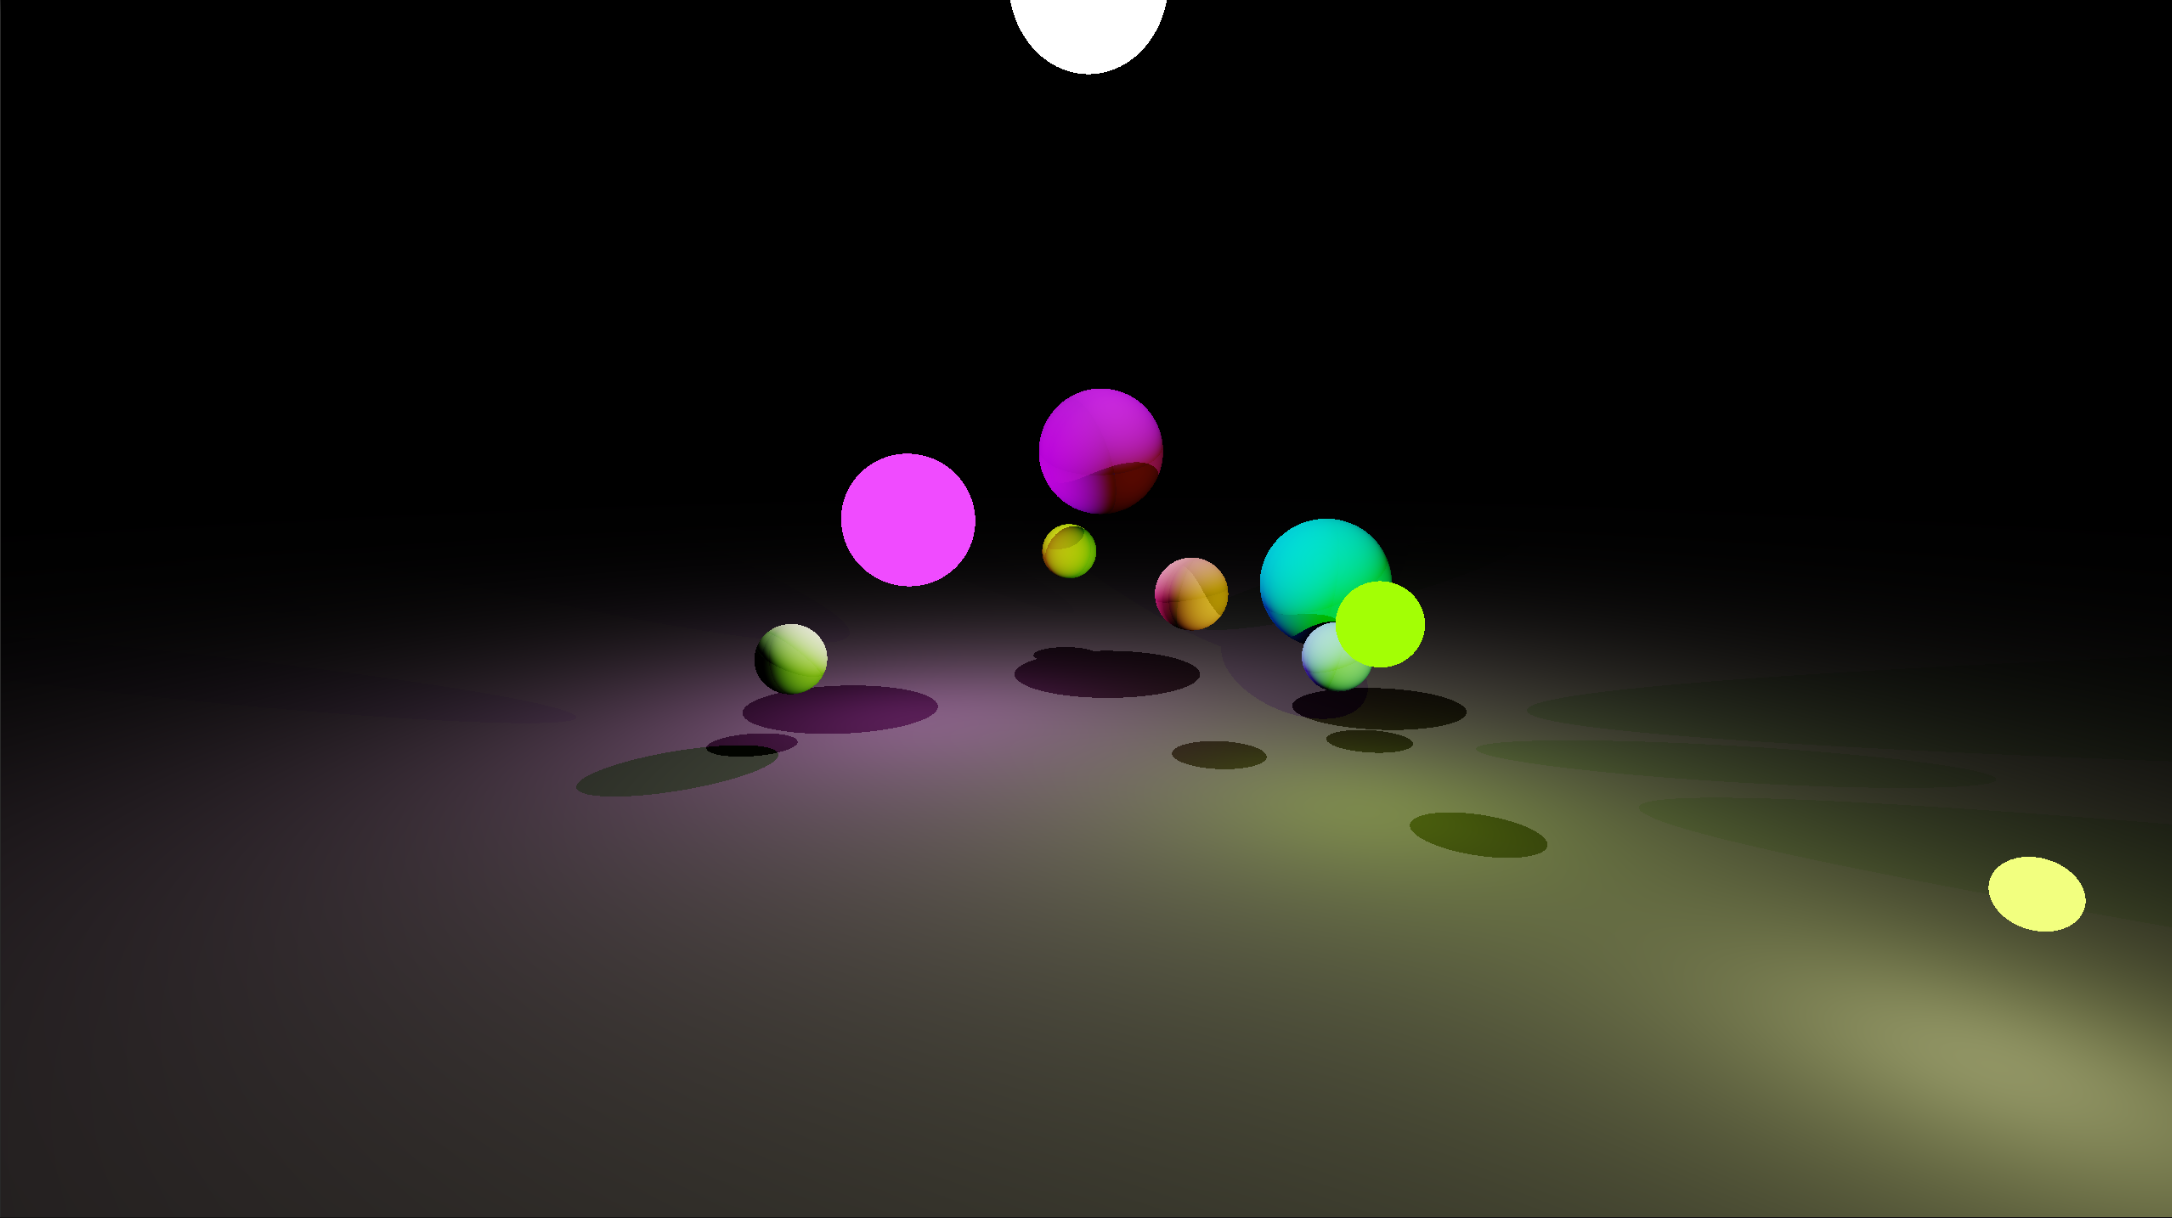
Directly outputting the RGB values you calculate doesn't look quite right. That's because eyes and cameras are not linearly responsive to light input - they follow a curve. Simulating this process is called "tonemapping." The popular choice for video games is orchestrated by the Academy Color Encoding System (ACES). Check out the results for yourself!
ACES tonemapping off:

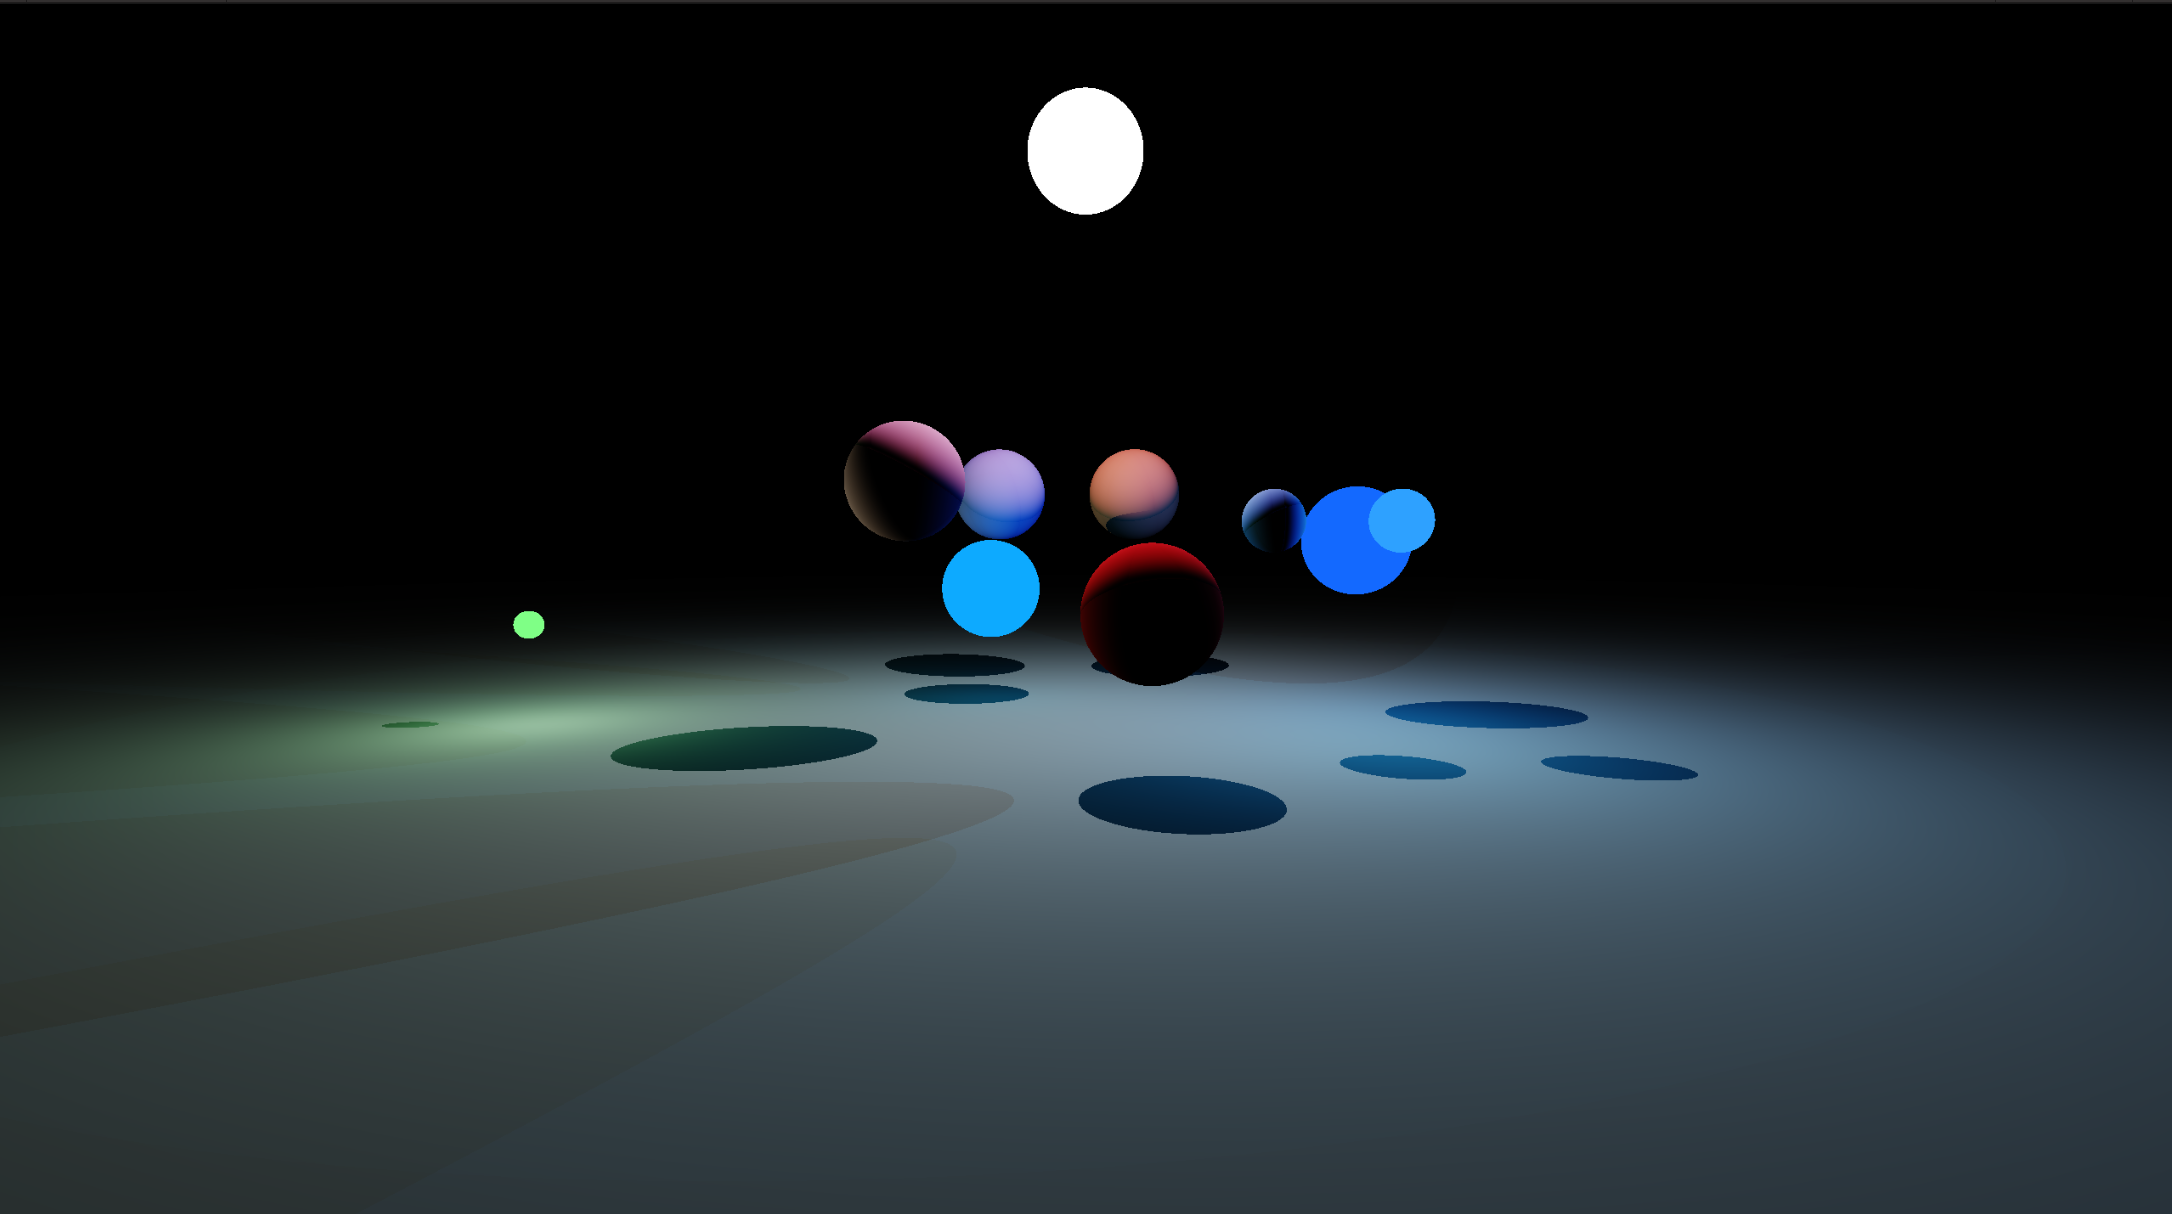
ACES tonemapping on:
How do we do this?
The HLSL code required to approximate the ACES tonemapping curve is freely available online, but I'll add it here for completeness:
float3 ACESFilm(float3 x)
{
    float a = 2.51f;
    float b = 0.03f;
    float c = 2.43f;
    float d = 0.59f;
    float e = 0.14f;
    return saturate((x * (a * x + b)) / (x * (c * x + d) + e));
}
The end result!
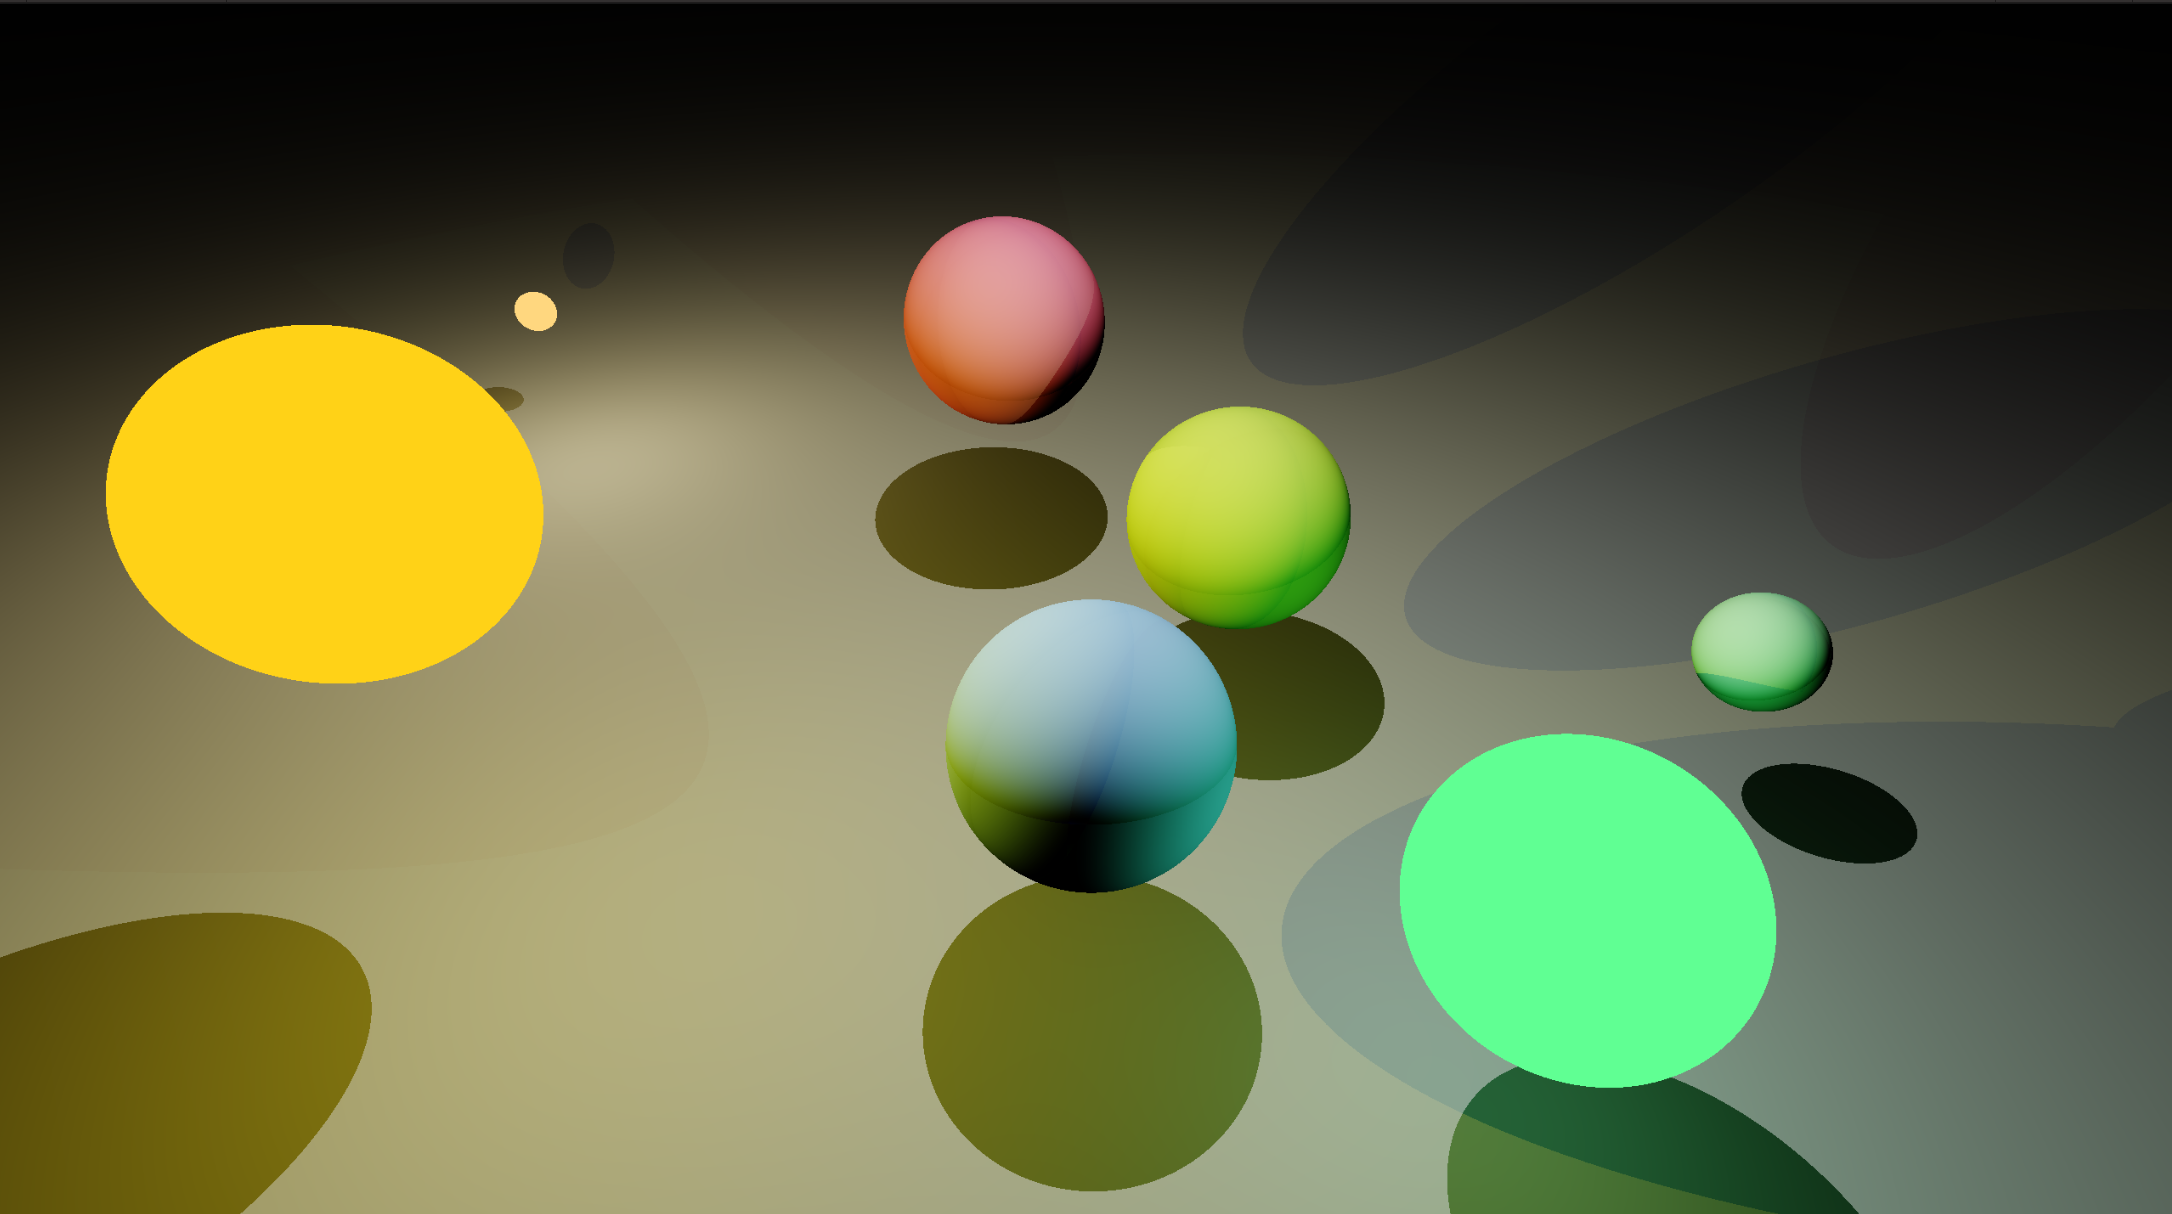
I'm quite happy with how things turned out, considering my total imcompetence when it comes to shaders. However, it does have issues. Light sources are computed as point-sources, and not the size they are, because I don't know how else to do it (without going extravagent with my computing resources). It's also limited to only a plane and spheres, because that's the only things I have maths for. And it doesn't support any sort of ambient light (which I think raytracing isn't supposed to have anyway).